
Last updated October 30, 2026
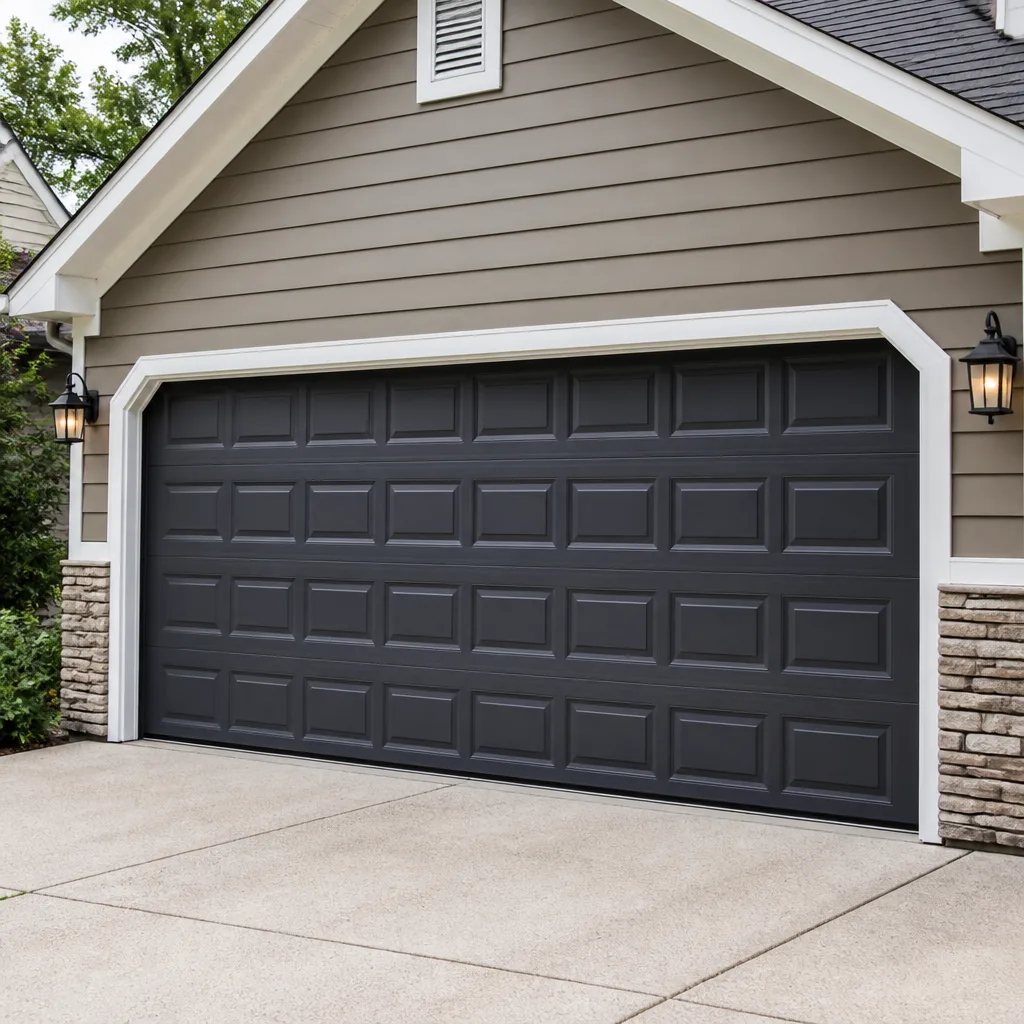 Raised-panel steel
 Carriage house
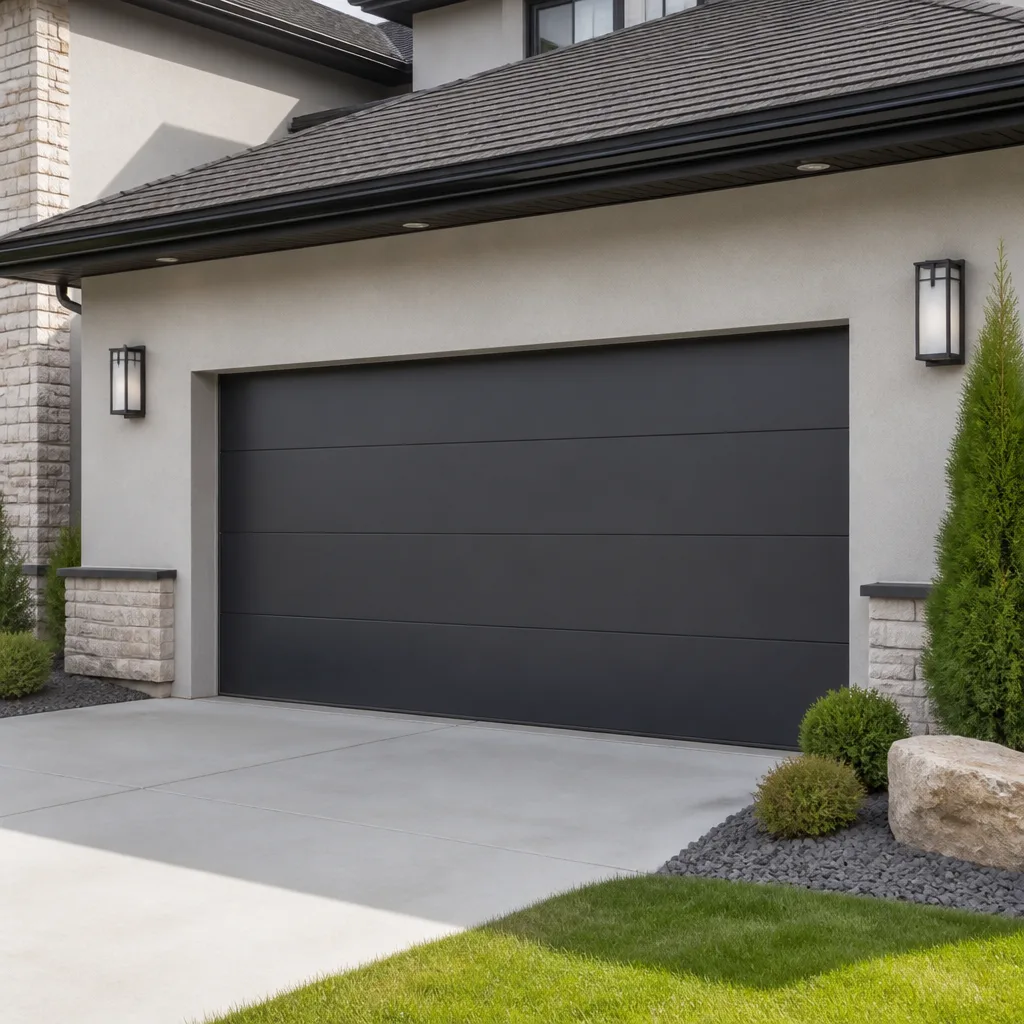 Modern flush
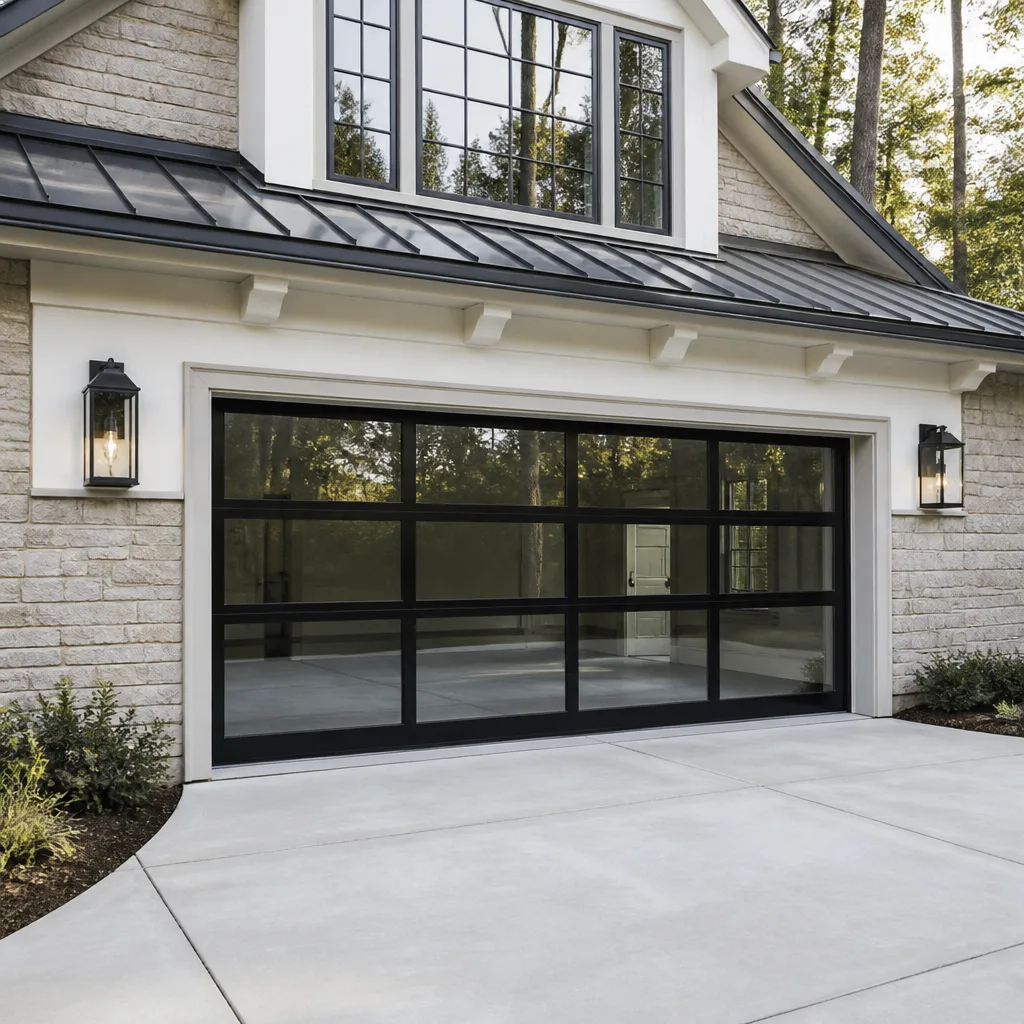 Full-view glass
 LiftMaster openers
 Chamberlain openers
Full 25-point door and opener safety check with every visit - springs, cables, rollers, tracks, and your LiftMaster or Chamberlain opener included
You get a price before we start. It does not change when the truck arrives.
Get your free estimateGarage Door Repair Maintenance Checklist for Melbourne Homeowners
Most garage door maintenance checklists read like they were written for a garage in Ohio. Lubricate the springs twice a year, tighten the bolts, call it done. But on Florida’s Space Coast, the ocean doesn’t follow a six-month schedule. Salt-laden air starts corroding unprotected steel components in as little as 18 months, and the real culprit isn’t neglect – it’s using the wrong lubricant, the wrong seal material, and the wrong inspection intervals for a subtropical coastal climate. A 2019 study by the Florida Building Commission found that coastal homes within five miles of the Atlantic experience corrosion rates up to 8 times higher than inland structures. This guide walks through the exact maintenance schedule Melbourne homeowners should follow, organized by the failure patterns our Garage Door Repair technicians actually see in Brevard County garages every week, not by generic calendar reminders. You’ll learn which specific checks prevent the five most common repair calls we run, which lubricants hold up to humidity and which ones attract grit, and how to document your maintenance in a way that protects your home’s resale value.
Styles & brands we work with
Quick Answer
A Melbourne garage door maintenance checklist should include monthly visual inspections of cables and rollers for rust, quarterly lubrication with a silicone-based or lithium-based lubricant (never WD-40), semi-annual testing of the auto-reverse safety sensors and manual release cord, and annual inspection of the bottom weather seal for Florida-specific warping. Homeowners within three miles of the Indian River or Atlantic coast should add a corrosion check on all exposed metal hardware every 90 days. Replacing worn components early, before a spring snaps or a cable frays, costs $80 to $250, while emergency repairs after failure typically run $300 to $700. For more details, see our Garage Door Repair Troubleshooting: Common Problems and How to Fix Them.
Table of Contents
- Why Melbourne’s Climate Changes Your Maintenance Schedule
- Lubrication: The Schedule Isn’t the Problem, the Product Is
- The Monthly Visual Inspection Checklist
- Bottom Seals and Weather Stripping: Florida’s Silent Failure Point
- Opener-Specific Checks for LiftMaster, Chamberlain, and Genie Units
- Documenting Maintenance for Brevard County Home Sales
- Common Mistakes to Avoid
- When to Call a Professional
- Frequently Asked Questions
- The Bottom Line
Why Melbourne’s Climate Changes Your Maintenance Schedule
Melbourne sits in a unique meteorological pocket. The city receives 52 inches of rainfall annually – 14 inches more than the national average – and the prevailing easterly winds carry salt spray inland from the Atlantic for a full 12 months, not just hurricane season. But the factor that catches most homeowners off guard isn’t the rain or the salt. It’s the dew point. Melbourne’s average relative humidity stays above 70% for roughly 320 days a year. When humid air meets the temperature differential between a hot garage slab and the cooler air above it, condensation forms on metal components. That condensation sits in the microscopic pits of galvanized steel, combines with airborne salt particles, and accelerates oxidation dramatically.
Our technicians in Brevard County see the results firsthand. A garage door spring that might last 10 years in Orlando can need replacement in 7 years in Satellite Beach or Indian Harbour Beach, where the salt exposure is more direct. The hardware that holds the door panels together – hinges, brackets, track bolts – is usually zinc-plated steel. Under Melbourne’s conditions, zinc plating starts failing at the edges within 24 to 36 months. Once the plating is gone, the underlying steel rusts through in another 18 months. This isn’t alarmism – it’s the physical reality of living within sight of the ocean, and it means your maintenance schedule should run about 25% more frequently than any generic online checklist suggests.
The good news? Corrosion is a slow, visible process. You can see it starting. So the single most important maintenance habit for Melbourne homeowners is a monthly two-minute visual sweep of the door’s metal hardware. Look for any spot where the silver zinc plating has dulled to a whitish gray or where orange-brown rust has begun forming at the edges of brackets. Catching galvanic corrosion at the white-powder stage means a $12 part and ten minutes of work, as covered in our Garage Door Warning Signs: A Melbourne Homeowner’s Reference Guide. Ignoring it until the orange stage means a bracket that snaps under load and a $400 to $900 repair call that includes realigning an unhinged panel.
Lubrication: The Schedule Isn’t the Problem, the Product Is
Walk down the hardware aisle at any big-box store in West Melbourne and you’ll see cans labeled “garage door lubricant” sitting right next to cans of WD-40. This is where nine out of ten garage door maintenance mistakes happen, and Melbourne’s humidity makes the consequences worse. WD-40 is a solvent and water displacer, not a lubricant. It strips away existing grease and leaves a thin film that evaporates within a week. Use it on your garage door, and within two weeks the metal is running dry – which means friction, which means heat, which means accelerated wear on your rollers and hinges. In Melbourne’s damp air, those unlubricated surfaces then collect condensation and start rusting. The product that’s supposed to help is actively setting up your door for a spring failure.
What actually works in a coastal, high-humidity environment is a white lithium grease or a silicone-based spray designed specifically for garage door mechanisms. These products coat the surface rather than soak in, and they maintain their viscosity in temperatures ranging from Melbourne’s 40-degree winter mornings to 95-degree summer afternoons. Do not use penetrating oils, motor oil, or general-purpose grease. Penetrating oil is too thin and disappears too quickly. Motor oil and axle grease are too heavy and will collect sand, road grit, and salt particles, turning your door’s moving parts into a slow-grinding sandpaper machine.
Here’s the lubrication routine we recommend for Melbourne, adjusted for what the coast does to metal:
- Clean the tracks before lubricating anything. Wipe the interior track surface with a dry cloth to remove accumulated dust and salt residue. Do not lubricate the tracks themselves – the rollers should contact a dry track surface. Lubricated tracks attract grit and cause more friction, not less.
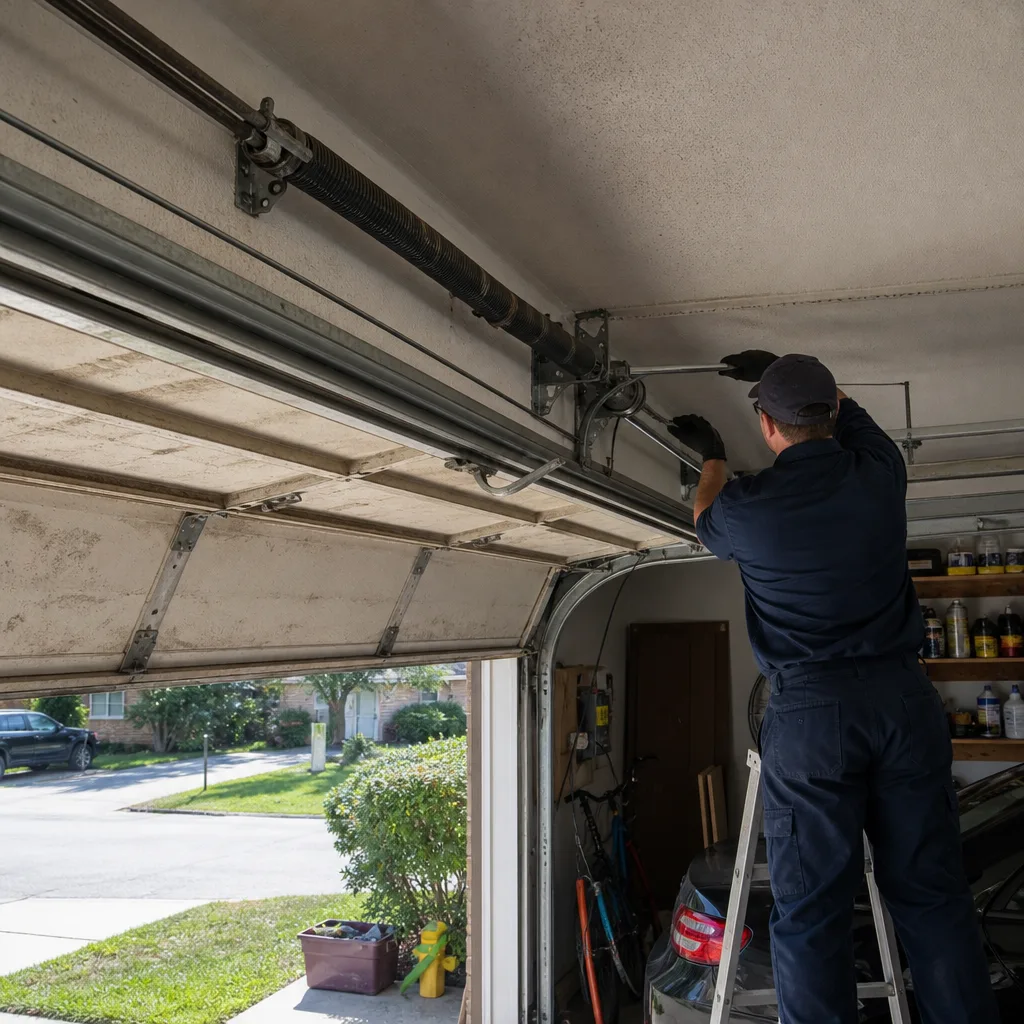
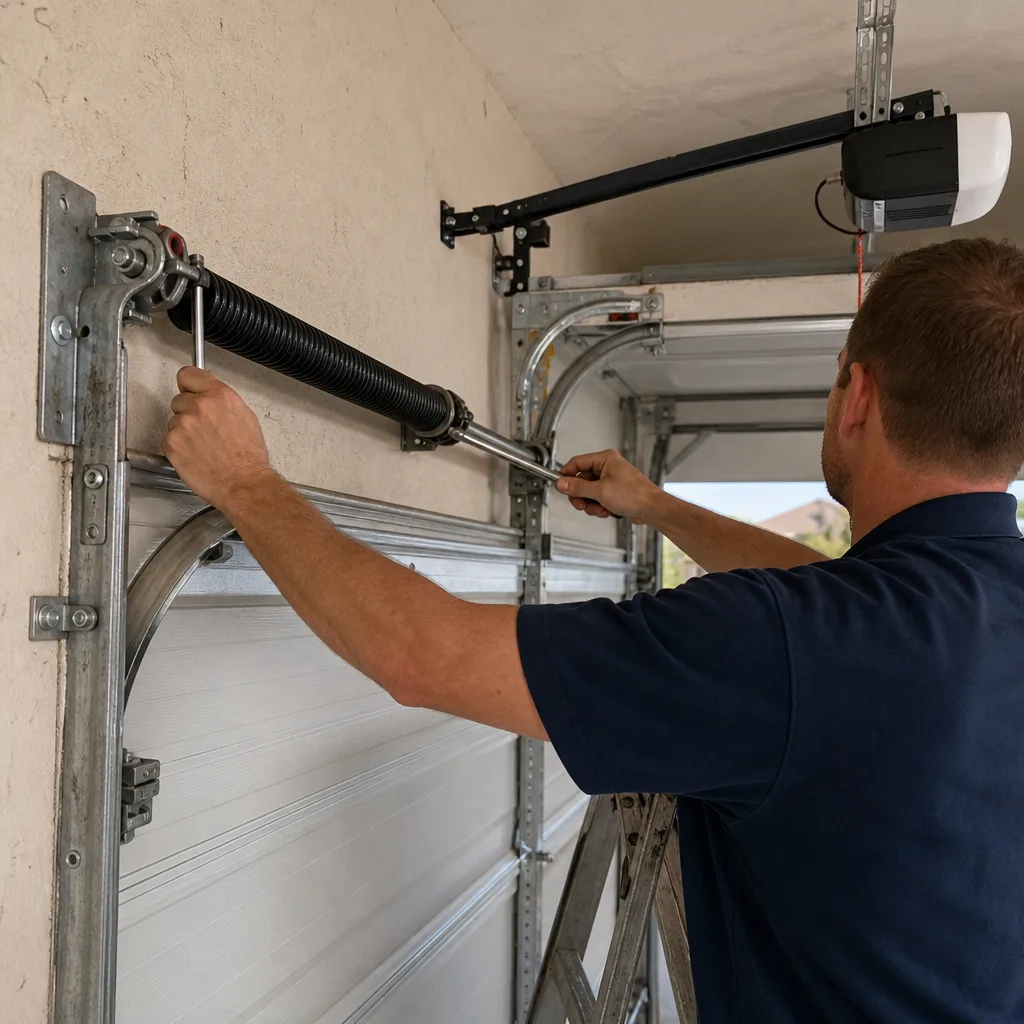
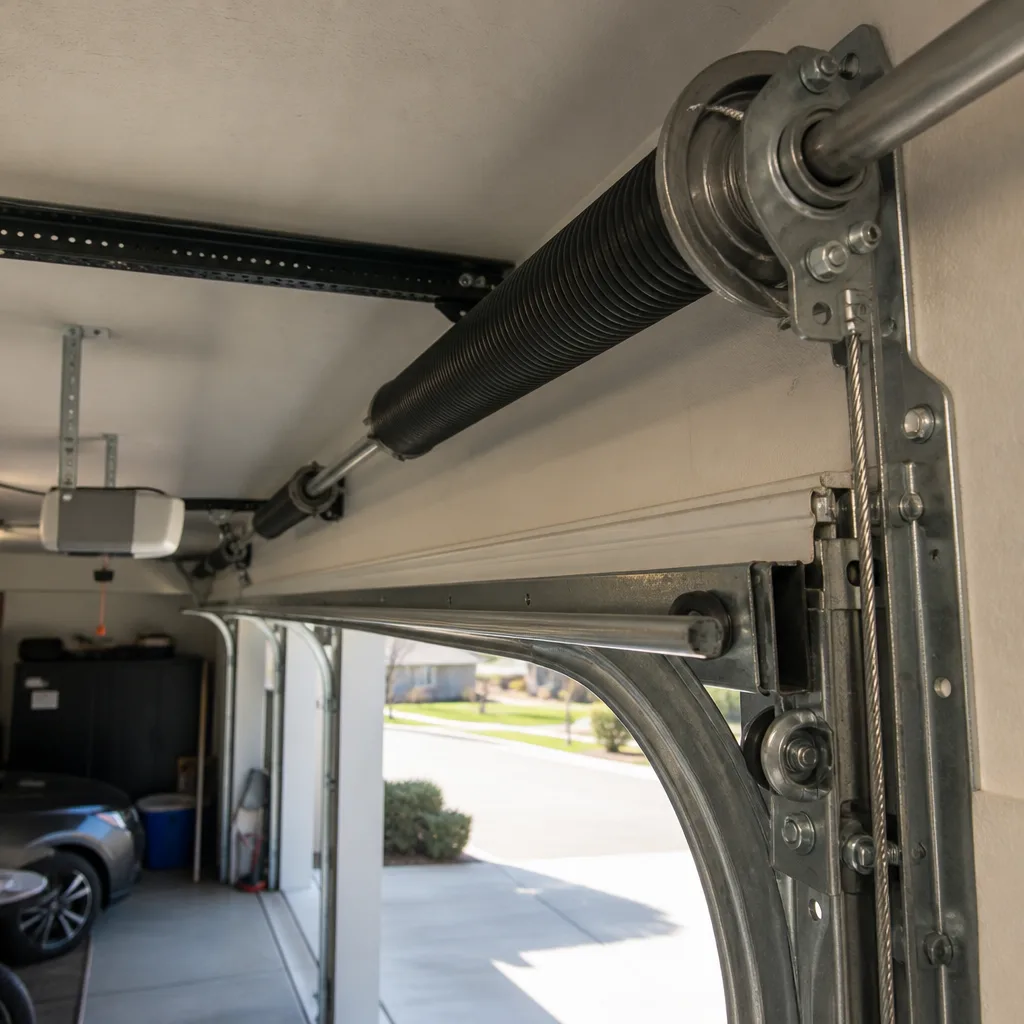
- Lubricate the springs. This is the most critical step and the one most homeowners skip. Extension springs (the ones that stretch along the horizontal track above the door) and torsion springs (the coiled springs on the header bar) both need a light, even coat of lithium grease or silicone spray. Do this every 90 days in Melbourne, not the twice-a-year figure you’ll see on generic checklists. The salt-laden air strips lubrication faster than inland air does.
- Lubricate the rollers. Only if they are steel rollers with unsealed bearings. If you have nylon rollers with sealed bearings, lubricating them does nothing useful – the bearing is sealed. Check whether your roller has a visible metal bearing at the center. If it does, apply a small amount of lubricant to that bearing. If it doesn’t, leave it alone.
- Lubricate the hinges and the pivot points. Every hinge where the door panels bend needs a shot of lubricant on the pivot pin. Flex the door in each section if you can, or just coat the area around the pin and let it work in with use.
- Lubricate the opener chain or screw drive. If you have a chain-drive opener, apply a light coat to the chain itself. If you have a screw-drive opener (common on older Genie units), apply a thin bead of lithium grease along the screw. Belt-drive openers, which are now standard on many LiftMaster and Chamberlain models sold in Melbourne new construction, need no lubrication on the belt – but the rail does.
One more Melbourne-specific note: if you live within a mile of the beach, you should be lubricating on an 8-week cycle, not 90 days. The salt mist is stronger, the condensation is heavier, and the margin for error is thinner. In our years of garage door repair in Melbourne, we’ve replaced more springs on beachside homes with doors under five years old than on mainland homes with doors twice that age. The difference is almost always lubrication frequency and product choice.
The Monthly Visual Inspection Checklist
The monthly check is the backbone of the entire maintenance plan. It costs nothing, takes five minutes, and catches problems at the stage where they’re cheap to fix. We tell every Melbourne customer the same thing: you are not looking for a broken door. You’re looking for the door that’s about to break. Those are two very different inspections, and the second one is the one that saves you money.
Here’s the exact monthly checklist we use when we perform maintenance for Brevard County homeowners, in the order that catches the most failures:
- Stand inside the garage with the door closed and look at the cables. The steel cables on both sides of the door should be taut and straight, with no visible fraying or individual wire strands poking out. Frayed cables snap under load, and when a cable snaps the door slams down unevenly – which can damage the panels, the track, and anything underneath it. Fraying is a sign the cable is already compromised. Replace it now, not after it fails.
- Look at the springs. If you have two extension springs running alongside the tracks, they should both look identical in length and coil spacing. If one is stretched or distorted compared to the other, the door is out of balance and the springs are wearing unevenly. For torsion springs above the door, look at the gap between the coils. If you see a visible gap in the middle of the spring, it has snapped – do not operate the door, and call a professional. A spring that looks intact but has visible rust blooming at the ends is nearing end of life.
- Inspect the rollers while the door is closed. Steel rollers should have no rust and should rotate freely when you spin them with your finger. Nylon rollers should show no cracks or flat spots. If a roller is seized and dragging instead of rolling, it’s grinding against the track and wearing a flat spot into both the roller and the track surface. Replacement rollers cost $10 to $25 each and take minutes to swap – far cheaper than a replacement track section.
- Watch the door as it opens and closes. It should move smoothly, with no jerking, hesitation, or uneven movement. If one side lifts faster than the other, the door is out of balance. If it shudders partway up, a bearing or roller is binding. These are not cosmetic issues; they’re mechanical problems announcing themselves.
- Listen to the door. A properly maintained garage door is quiet. If you hear grinding, scraping, squeaking, or a rhythmic thumping that matches the door’s travel, something is wrong. Grinding means metal-on-metal contact where there shouldn’t be any. A rhythmic thump usually means a roller is failing or a hinge is loose.
- Check the track alignment. The vertical and horizontal tracks on each side should be parallel to the door edges and firmly attached to the wall and ceiling brackets. Loose tracks cause the door to rattle and eventually jump the track, which is one of the more dangerous and expensive repairs we handle.
Run this checklist on the first Saturday of every month. It becomes a five-minute routine, and after three months you’ll notice things you never saw before – because now you know what a normal door looks like.
Bottom Seals and Weather Stripping: Florida’s Silent Failure Point
The rubber strip on the bottom of your garage door is the least glamorous part of the entire assembly, and the one Melbourne homeowners most consistently ignore. That’s a problem, because the bottom seal is doing two jobs in our climate, and it’s failing at both of them faster than it does anywhere else in the state. The bottom seal keeps water out during Melbourne’s torrential summer thunderstorms, and it keeps the salt-laden, humid outside air from infiltrating your garage and accelerating the corrosion of everything else in there. A failed bottom seal doesn’t just mean a puddle on the garage floor – it means the air that’s rusting your springs and hinges has a direct pipeline into the space where those springs and hinges live.
The degradation timeline for rubber weather seals in Melbourne is significantly shorter than the 10-year figure you’ll see on generic maintenance guides. UV radiation from the Florida sun breaks down the rubber’s molecular structure, causing it to dry out, crack, and lose flexibility. At the same time, the constant humidity keeps the rubber working in a wet environment, which accelerates the breakdown from the inside. In practical terms, a bottom seal on a beachside Melbourne home should be inspected every six months and proactively replaced every 2 to 3 years – not because it fails completely, but because its sealing properties degrade slowly and silently. A seal that looks intact but has lost its pliability is no longer compressing properly against the slab, which means water is getting under it during heavy rain even though it looks fine.
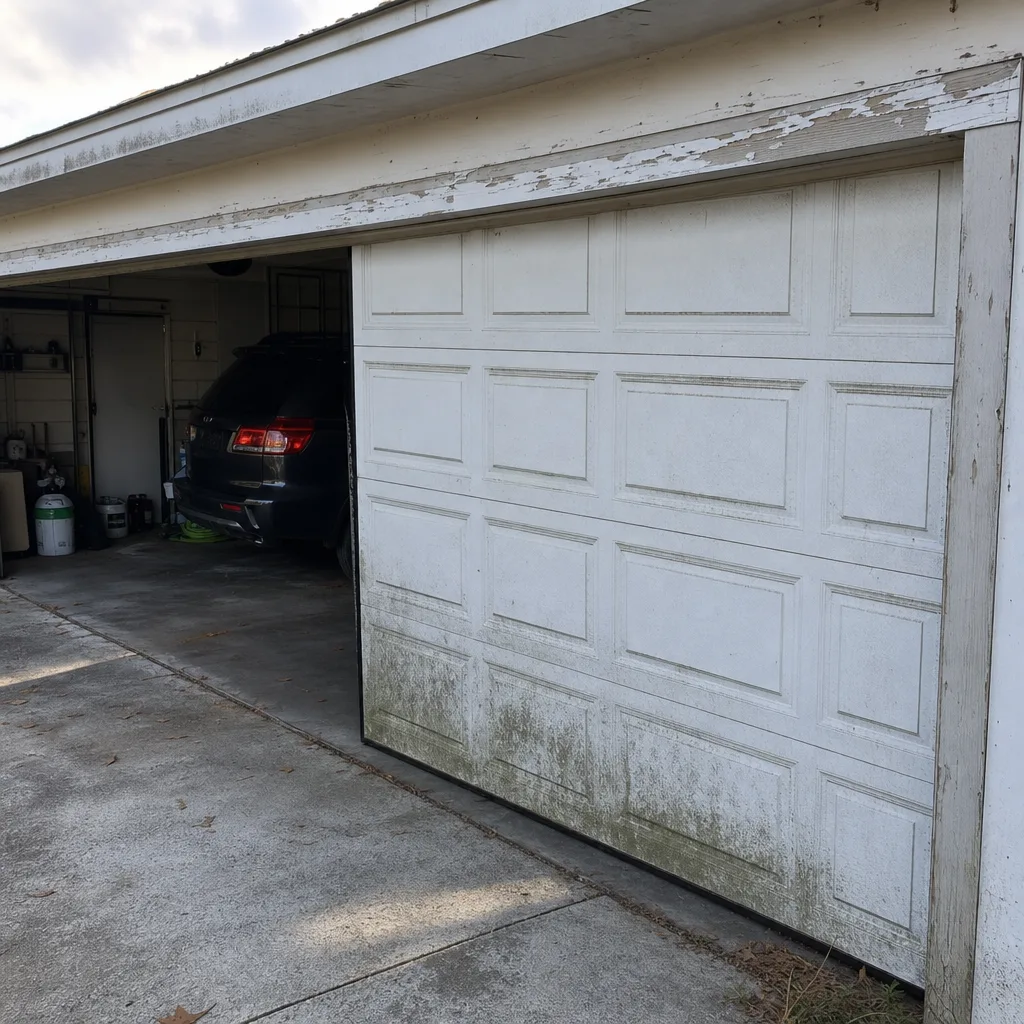
There’s also a Melbourne-specific failure pattern we see regularly on concrete slabs. Florida’s heat cycles cause concrete to expand and contract, and over time this creates hairline cracks and slight surface warping, particularly on older slabs poured in the 1980s and 1990s. The bottom seal has to conform to those imperfections to keep water out. What we see in Brevard County garages is a distinctive warping pattern where the seal has permanently deformed around a high point on the slab – often near the center of the door or at the corners where the concrete has heaved slightly. The seal compresses permanently into the wrong shape, and then it can’t reach the low spots on the slab anymore. If you kneel down and look along the bottom of the door from the inside on a sunny day, you’ll see daylight coming through in uneven patterns. That’s not just a seal problem – it’s the seal telling you the slab has moved.
Here’s what to check on the bottom seal every six months:
- The daylight test. Close the door on a bright day and look along the bottom from inside. Any visible light means the seal isn’t contacting the slab in that spot. Water will find the same gap in the next heavy rain.
- The flexibility test. Press your thumbnail into the rubber. It should spring back immediately. If it stays indented or feels brittle and stiff, the rubber has lost its elasticity and needs replacement.
- The cracking pattern. Look closely at the bottom edge of the seal. Hairline cracks along the surface are the earliest visible sign of UV damage. Once cracking starts, the seal is on borrowed time.
- The ends of the seal. The last 2 to 3 inches of the seal at both corners are the first parts to fail. They’re exposed to more sunlight reflected off the driveway and more mechanical stress from the door’s travel. Check these areas specifically.
Replacing a bottom seal is a straightforward job on most doors – slide out the old, slide in the new – but it requires the correct seal profile for your specific door model. A seal made for a Wayne Dalton door won’t fit properly on a Clopay or Amarr door, and a universal seal off the shelf at a hardware store usually means a compromised fit from day one. If you’re unsure which profile your door takes, we can identify it in about five minutes and install the correct one the same visit.
Opener-Specific Checks for LiftMaster, Chamberlain, and Genie Units
Most maintenance checklists treat the garage door itself in detail and then tack on one line about the opener: “test the auto-reverse feature.” But the opener is a machine with its own wear points, and when it fails, everything stops – you can’t get your car out, you can’t get the lawnmower out, and you can’t leave for work. In Melbourne’s new construction, three brands dominate the opener market: LiftMaster, Chamberlain, and Genie. Each has specific maintenance needs that generic checklists skip right over.
LiftMaster and Chamberlain units share the same parent company and similar designs, and the most common issue we see on these units in Melbourne – especially belt-drive models installed within the last decade – is failing travel limit calibration. The travel limits tell the opener how far to move the door in each direction. When the limits drift out of calibration, the opener either stops the door short of fully closed, leaving a gap at the bottom, or keeps applying pressure after the door is already down, which strains the motor and the gear. Test this by opening and closing the door and watching the behavior at both ends of travel. The door should stop cleanly at the floor, without the opener straining audibly or reversing itself for no reason. On LiftMaster models with the MyQ system, a failing battery in the wall control unit can also cause erratic behavior – swap that battery once a year as part of your maintenance routine.
Genie units, particularly the older screw-drive models that are still common in Melbourne homes built in the 1990s and early 2000s, have a different set of needs. The screw drive’s threads wear over time, and as they wear, they get noisier and slower. The carriage moves along the screw, and the interface between the carriage and the screw is a specific failure point. On any Genie screw-drive unit, listen for an increase in noise level over time – a unit that used to be relatively quiet and is now noticeably louder is telling you the screw or carriage is wearing. Lubricating the screw with white lithium grease every 6 months will extend its life, but once the wear pattern is established, replacement of the carriage assembly is usually the fix, not more grease. The good news: newer Genie units have moved to belt-drive designs, which are quieter and have fewer wearing parts. If you have an older Genie screw-drive unit on its last legs, a garage door opener repair in Melbourne is usually possible, but replacement with a belt-drive unit may be the more economical long-term decision – and a conversation we have honestly with customers, not one we push.
Regardless of brand, every opener in Melbourne needs these checks performed twice a year:
- Auto-reverse test. Place a 2×4 or a rolled-up towel flat on the floor where the door closes. Close the door. It should reverse within two seconds of contacting the object. If it doesn’t, the opener is a safety hazard. Test this twice a year, every year, no exceptions.
- Photo-eye alignment. The small sensors mounted near the bottom of the door tracks, one on each side, must be aligned and clean. In Melbourne’s humidity, these lenses sometimes accumulate a thin film of condensation and dust. Wipe them with a dry cloth quarterly. If the sensor’s LED light is blinking, the sensors are misaligned or obstructed.
- Manual release cord test. Pull the red emergency release cord with the door closed. The door should disconnect from the opener carriage and allow manual operation. Reconnect it by running the opener until the carriage re-engages. If the release mechanism is rusted or seizing – which happens faster near the coast – replace it.
- Balance test. With the opener released, manually lift the door to chest height and let go. A properly balanced door will stay in place or move very slowly. If it drops, the springs are failing, and the opener is working harder than it should – which shortens the opener’s life significantly.
One point most homeowners don’t realize: the opener’s force settings and travel limits should be adjusted to compensate for seasonal changes. Melbourne’s humidity variations cause doors to swell slightly and move a bit differently in August than in January. If you find your opener straining or reversing inconsistently at certain times of year, a quick limit adjustment usually solves it.
Documenting Maintenance for Brevard County Home Sales
Here’s the part of garage door maintenance that almost nobody talks about: documentation. When you sell a home in Brevard County, the Florida Association of Realtors’ standard sales contract requires sellers to disclose known defects affecting the property’s value – including the garage door system. What most Melbourne sellers don’t realize is that a well-documented maintenance record can protect you during the inspection period, support your asking price, and prevent a buyer from using the garage door as leverage in negotiations.
The Florida disclosure form asks specific questions about known issues with doors and appliances. If you’ve had a garage door spring replaced, an opener repaired, or a panel realigned, and you don’t disclose it – even if the repair fully resolved the issue – a diligent buyer’s inspector will almost certainly find the evidence and flag it. That leads to a repair credit demand, a delayed closing, or a deal that falls apart. The fix is simple, and it starts well before you list the house.
Here’s the documentation system we recommend to Melbourne homeowners:
- Keep a written log of every garage door service or repair. Date, what was done, which company performed the work, and the cost. A simple notebook page or a note on your phone is fine. Two years of entries showing consistent maintenance is worth real money at the negotiating table.
- Take photos of the door and hardware twice a year. Specifically, photos of the springs, the cables, the hinges, the track brackets, and the bottom seal. These establish condition at a point in time, and they show a buyer’s inspector that you were paying attention. If a question comes up about whether a component was replaced or original, you’ll have the answer.
- Keep receipts for parts and service calls. Not for warranty purposes, but for disclosure. If you replaced a spring in 2023 and the buyer’s inspector flags “rust on spring” in 2025, you can prove the current spring is two years old, not ten – and rust at the two-year mark in a coastal environment is normal, not a defect.
- Before listing, have a garage door professional perform a pre-sale inspection. This is a $75 to $150 service that walks through every component and produces a written condition report. Hand that report to the listing agent, and the buyer’s inspector has less room to invent problems. On the other side, if you’re buying a home in the Viera, Suntree, or Eau Gallie areas, having the door inspected independently is a smart move – we routinely find spring issues and opener calibration problems that general home inspectors miss because garage doors are not their specialty.
The takeaway: a garage door maintenance log isn’t just about keeping the door running today. It’s about protecting your equity when the house goes on the market. When we install a new door or replace a spring for a customer who later moves, about a third of those customers call us back for the documentation because their buyer’s inspector asked for service history. That’s a call we’re happy to handle – and one that’s a lot easier if the original work was done by us in the first place.
Common Mistakes to Avoid
- Using WD-40 on moving parts. WD-40 is a water displacer, not a lubricant. It strips existing lubrication and evaporates. In Melbourne’s salt-heavy air, unlubricated steel starts rusting within weeks. Use white lithium grease or silicone spray instead.
- Lubricating the garage door tracks. The rollers need to contact a dry, clean track surface. Lubricating the tracks attracts dust, sand, and salt, which turns the track into an abrasive channel. Clean tracks, lubricate rollers – not the other way around.
- Ignoring a slowly-operating door. A door that opens more slowly in January than it did the previous January isn’t just cold weather. It’s usually a spring losing tension or an opener motor working too hard. The longer you wait, the more expensive the fix.
- Not testing the auto-reverse because “it worked last year.” The auto-reverse is a safety device, and safety devices fail without warning. In a house with children or pets, an untested opener is a loaded gun with the safety off. Test it twice a year, on a schedule you actually keep.
- Replacing a bottom seal with whatever the hardware store has on the shelf. Universal seals are a compromise. Your door has a specific seal profile; using the wrong one leaves gaps at the corners and along any slab irregularities. A professional can identify and install the correct seal in under 30 minutes.
- Painting over rust without treating it. If you see surface rust on hinges or brackets, painting over it seals the rust in and lets it continue eating the metal underneath. The proper treatment is removing the rust, applying a rust converter, and then painting – or just replacing the $15 bracket.
- Operating the door manually after a spring breaks. If a torsion spring snaps, the door becomes extremely heavy and the opener’s manual release won’t help you lift it safely. A door with a broken spring requires professional repair. Attempting to force it open or closed risks injury and causes damage to the tracks and panels.
When to Call a Professional
Some maintenance tasks are DIY-friendly: lubricating hinges, testing the auto-reverse, cleaning photo-eye lenses, checking the bottom seal. Others are not. If you see a frayed cable, a broken spring, a door that slams when closing, or a track that has pulled away from the wall, stop and call someone who handles these failures professionally. Torsion springs under tension store enough energy to cause serious injury if mishandled, and a door that has jumped its track can weigh 300 pounds or more. This is not the place to save money with a YouTube tutorial. At Ironstone Garage Door Repair home, our technicians work across LiftMaster, Chamberlain, Genie, Clopay, Amarr, Wayne Dalton, Craftsman, and Raynor systems, and we start every service call with an honest diagnosis. If the door can be repaired, we repair it; if replacement is genuinely the better long-term decision, we tell you that too. Ironstone Garage Door Repair offers free estimates in Melbourne – call (866) 472-4163 and we’ll come look at the door before you spend a dime.
Frequently Asked Questions
Every 90 days, or every 8 weeks if you live within a mile of the beach. Melbourne’s constant humidity and salt-laden air strips lubrication from moving parts faster than inland locations, so the standard twice-a-year advice doesn’t apply here. Use white lithium grease or silicone spray on the springs, hinges, and roller bearings only – never on the tracks themselves. For a complete tune-up or if you’re unsure which components need attention, call (866) 472-4163.
A professional garage door maintenance visit in Melbourne typically runs $75 to $150, which includes lubrication, hardware tightening, balance testing, safety sensor testing, and a condition report. If the technician finds worn parts like rollers, hinges, or a bottom seal, those parts are usually priced separately and quoted before any work begins. Call (866) 472-4163 for an exact quote – estimates are free.
A torsion spring on a Melbourne home is rated for roughly 10,000 cycles, which translates to 7 to 10 years of average use. But the salt-air environment accelerates wear, and springs on beachside homes often need replacement in 5 to 7 years. If your springs are older than five years and you live east of the Indian River, have them inspected annually, and call (866) 472-4163 if you hear popping sounds or see visible gaps in the coils.
Yes, if you have the exact seal profile for your specific door brand – Genie, Clopay, Amarr, and Wayne Dalton all use different extrusion profiles, and a universal seal usually fits poorly. The job takes about 30 minutes with the correct part. If you don’t know which profile your door requires, we can identify and install the correct seal in a single service visit in Melbourne.
In Melbourne’s summer heat, door panels can expand slightly and the door’s force threshold can change, causing the opener to misinterpret the added resistance as an obstruction and reverse direction. This is usually fixed by adjusting the opener’s travel limits and force settings. On LiftMaster and Chamberlain units this is a two-minute adjustment; on some Genie models it requires opening the unit’s housing. If you’ve already tried adjusting the settings and the issue persists, it’s time for a professional look at the opener’s logic board and sensors.
It depends on what the door is doing. If the panels are structurally sound and the frame is solid, replacing springs, rollers, and seals can extend the door’s useful life by another 5 to 8 years at a fraction of replacement cost. If the panels are rusting through, delaminating, or the door has jumped its track multiple times, a garage door installation in Melbourne is the better financial decision over a 5-year horizon. Our advice is always repair-first: we won’t sell you a new door unless the math supports it. Call (866) 472-4163 and we’ll give you an honest assessment either way.
The Bottom Line
Garage door maintenance in Melbourne isn’t more complicated than anywhere else – it’s more frequent, and the stakes are higher when you skip it. The salt air, the humidity, the UV exposure, and the driving summer rain all work against the steel, rubber, and moving parts that keep your door opening smoothly. Your maintenance plan should be built around what those conditions actually do to the hardware, not around a generic national checklist. Lubricate with the right product on a coastal schedule, run a monthly visual inspection, replace the bottom seal before it fails, test your opener’s safety features twice a year, and write it all down. A garage door that gets this level of attention will run quietly, fail less often, and hold its value when you sell the house. If you’d rather hand all of it to someone who knows these systems inside and out, we’re here.
Written by the team at Ironstone Garage Door Repair, serving Melbourne since 2016.
See the difference
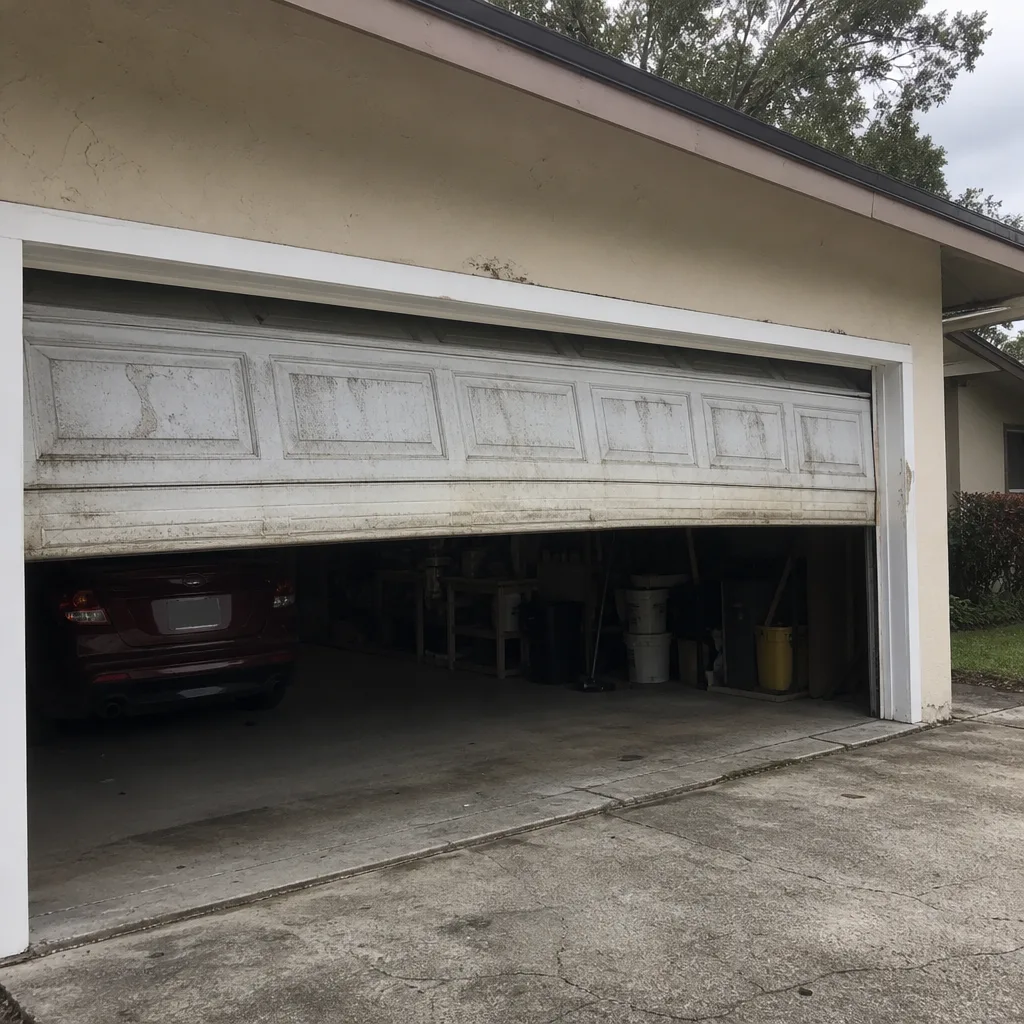 Before
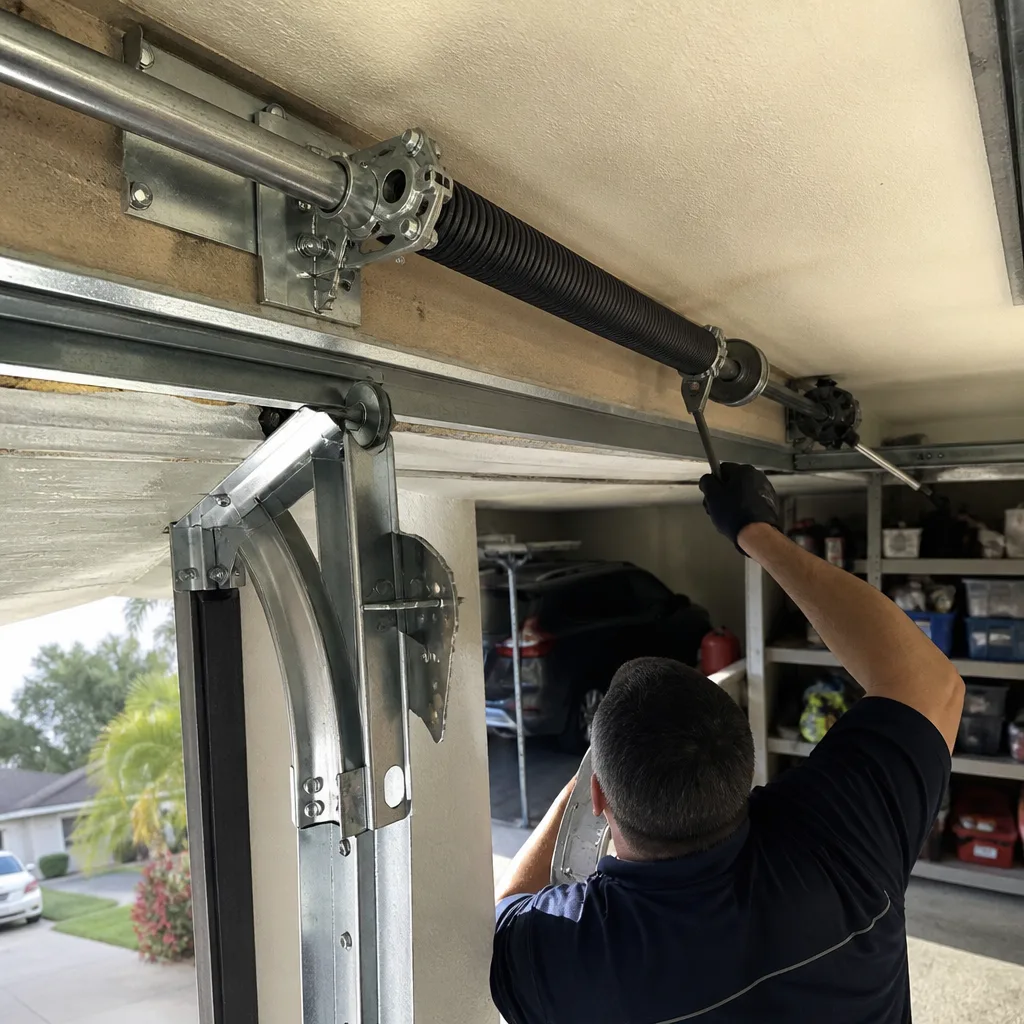 After
 Before
 After
 Before
 After